

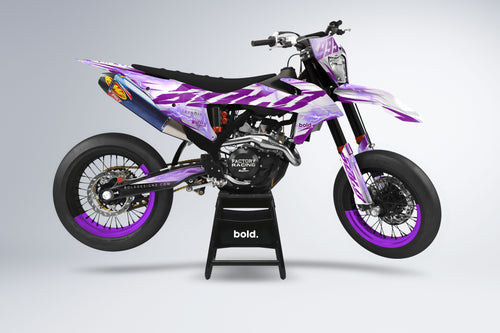
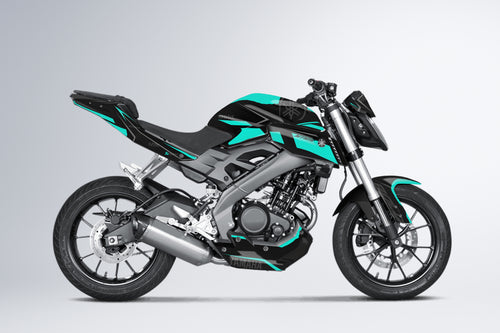
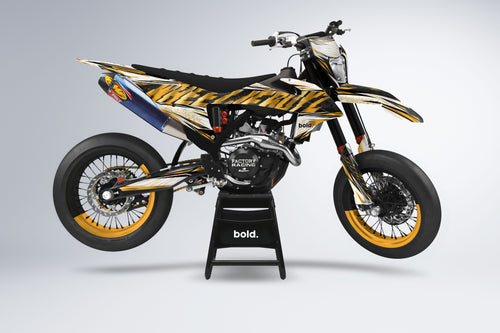
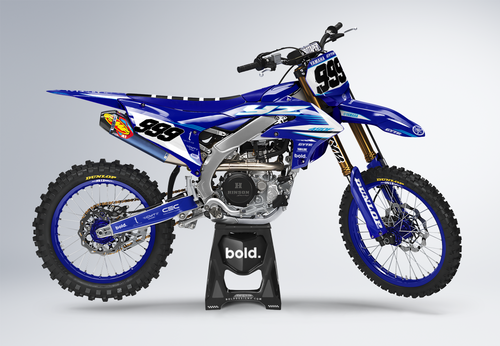





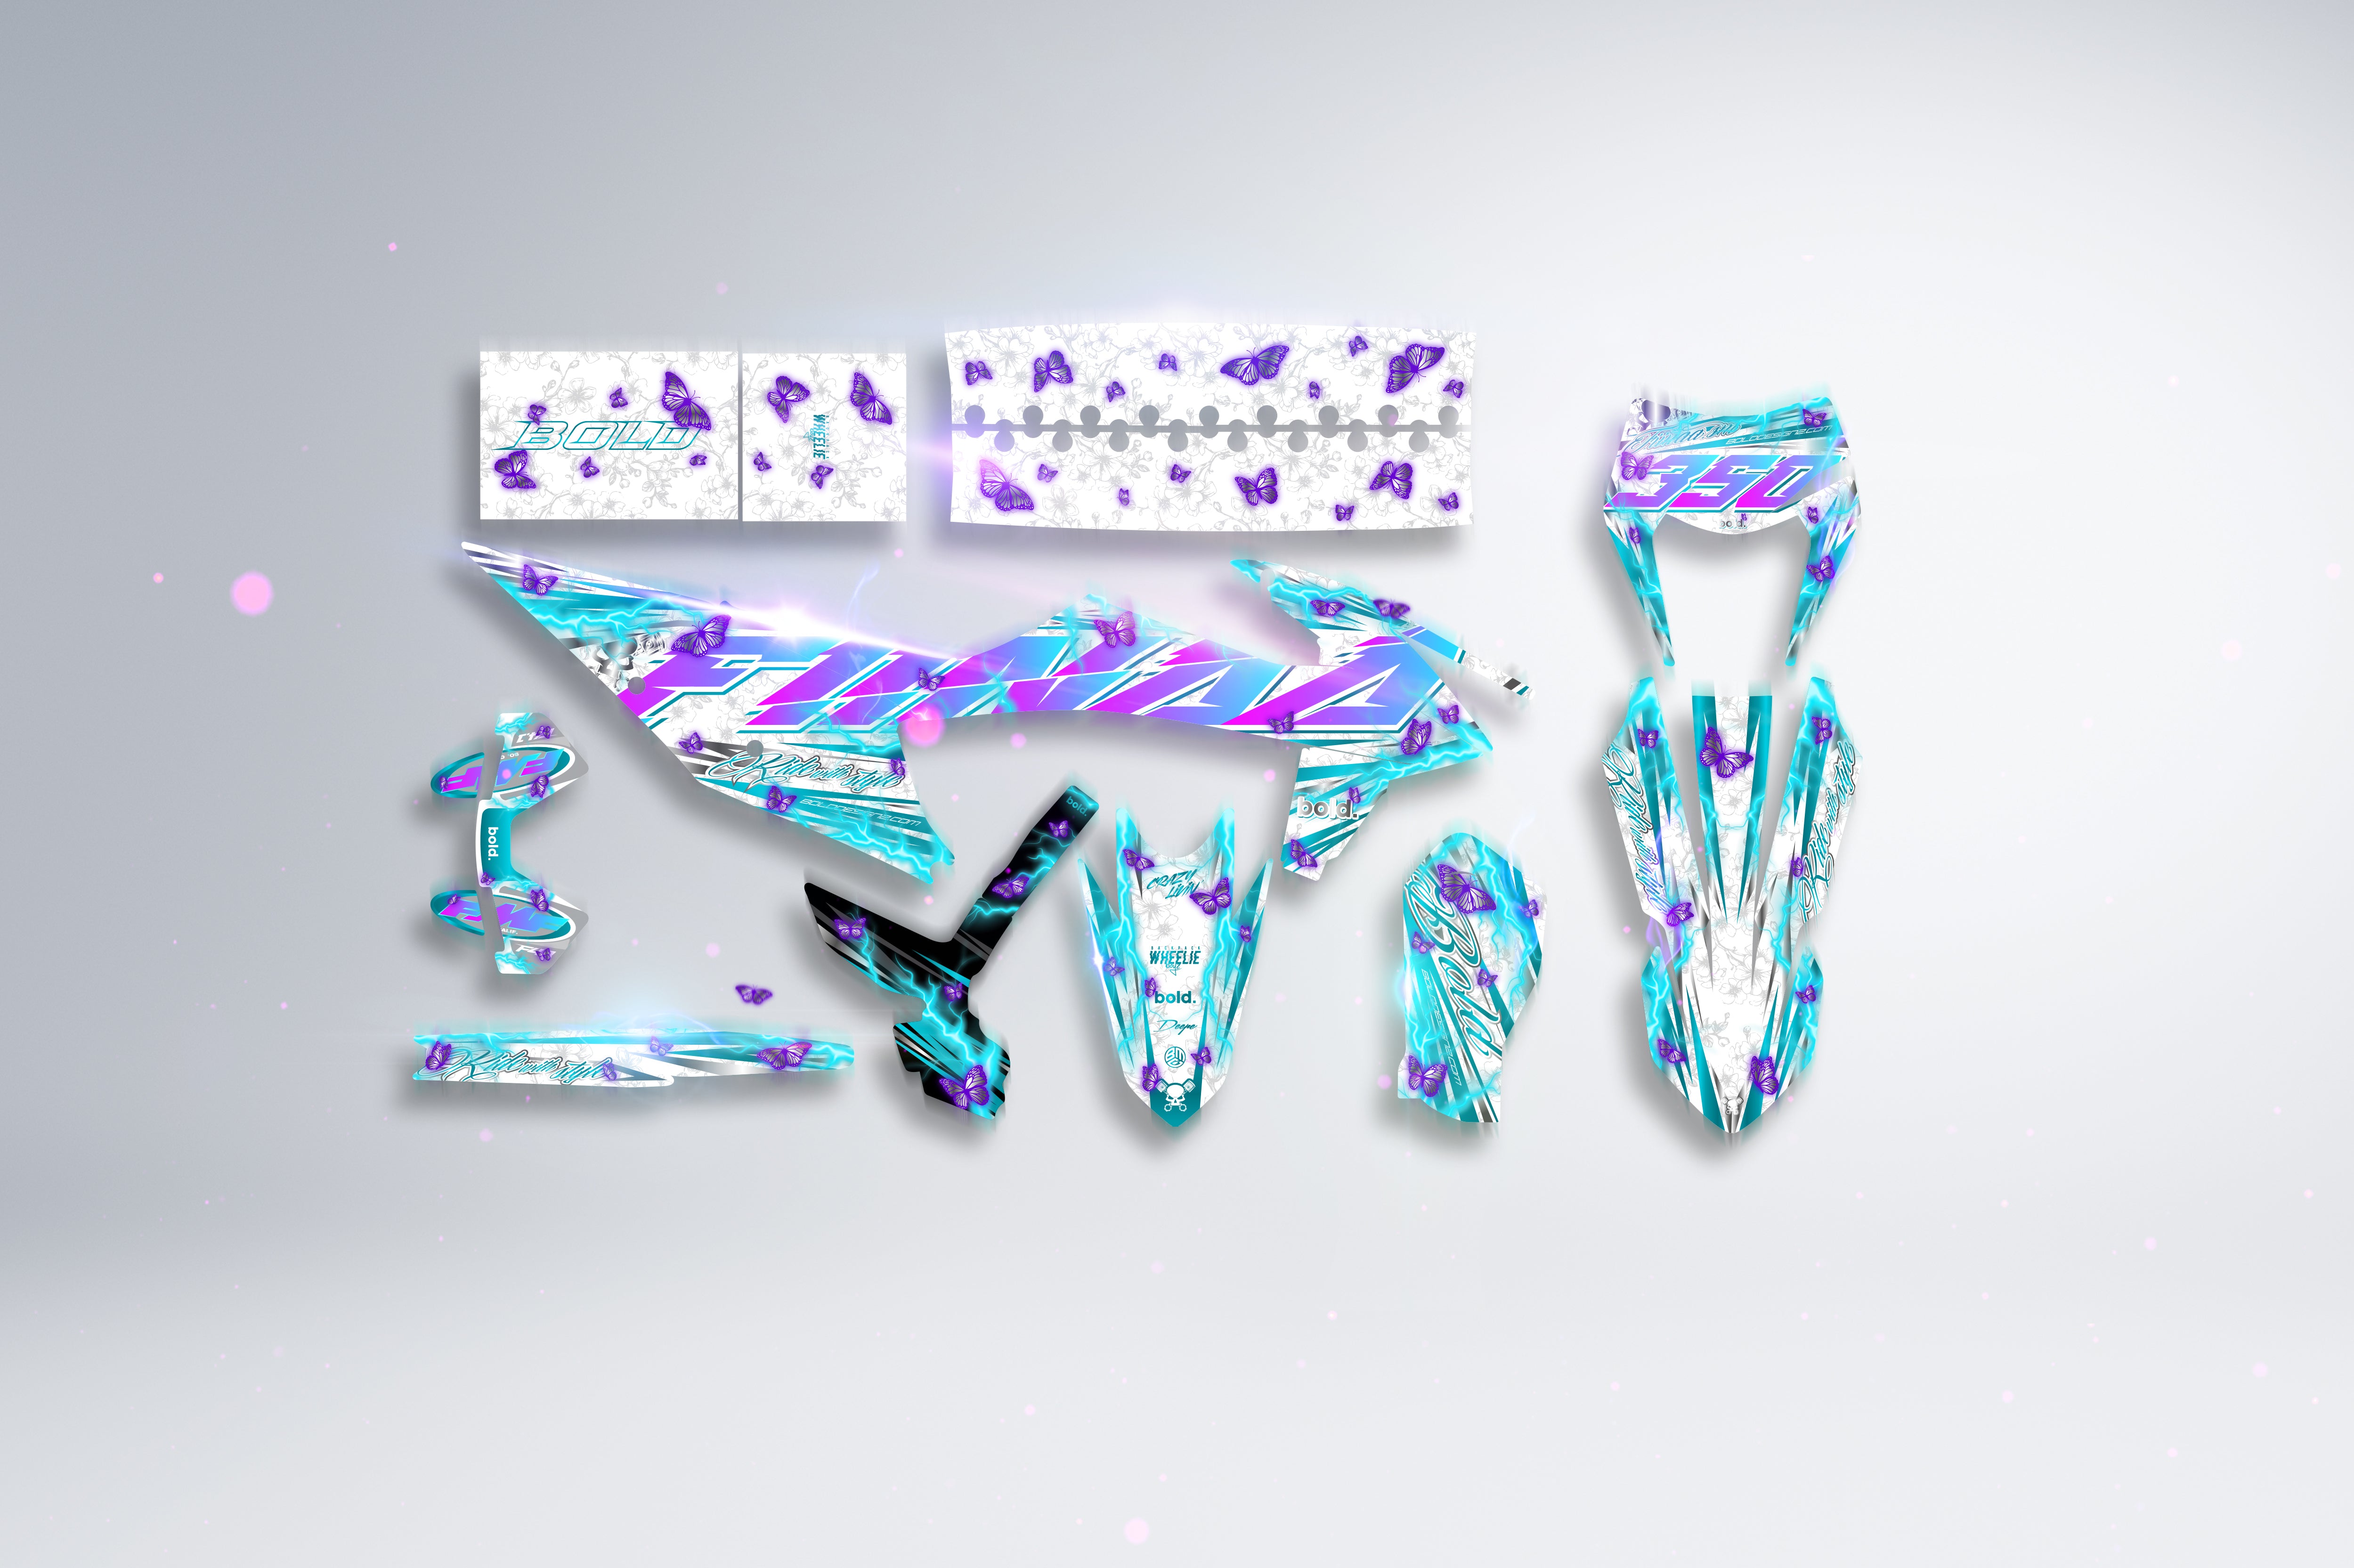
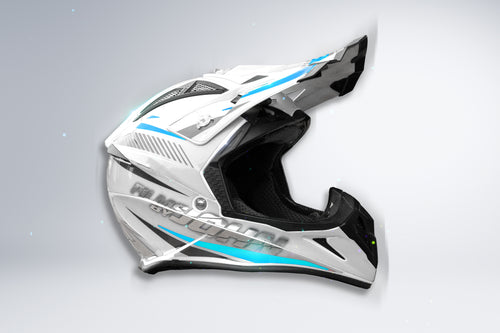
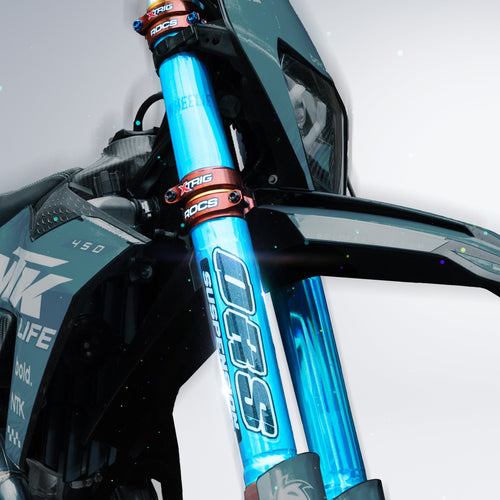


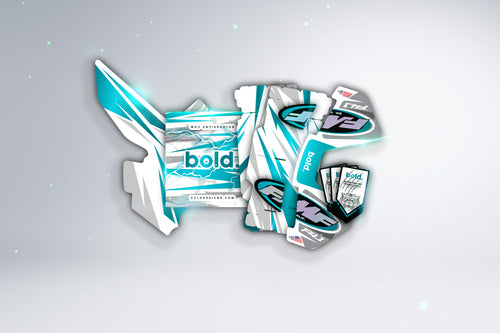




Your kit is on the kitchen table, the plastics are on the bench, and you want it on the bike tonight. Fair enough. Here is how we fit a graphics kit ourselves, in the order we do it, with the two or three things that decide whether it looks printed-on for years or lifts at the corners by spring.
Before you start: check the fit on the proof, not on the bike
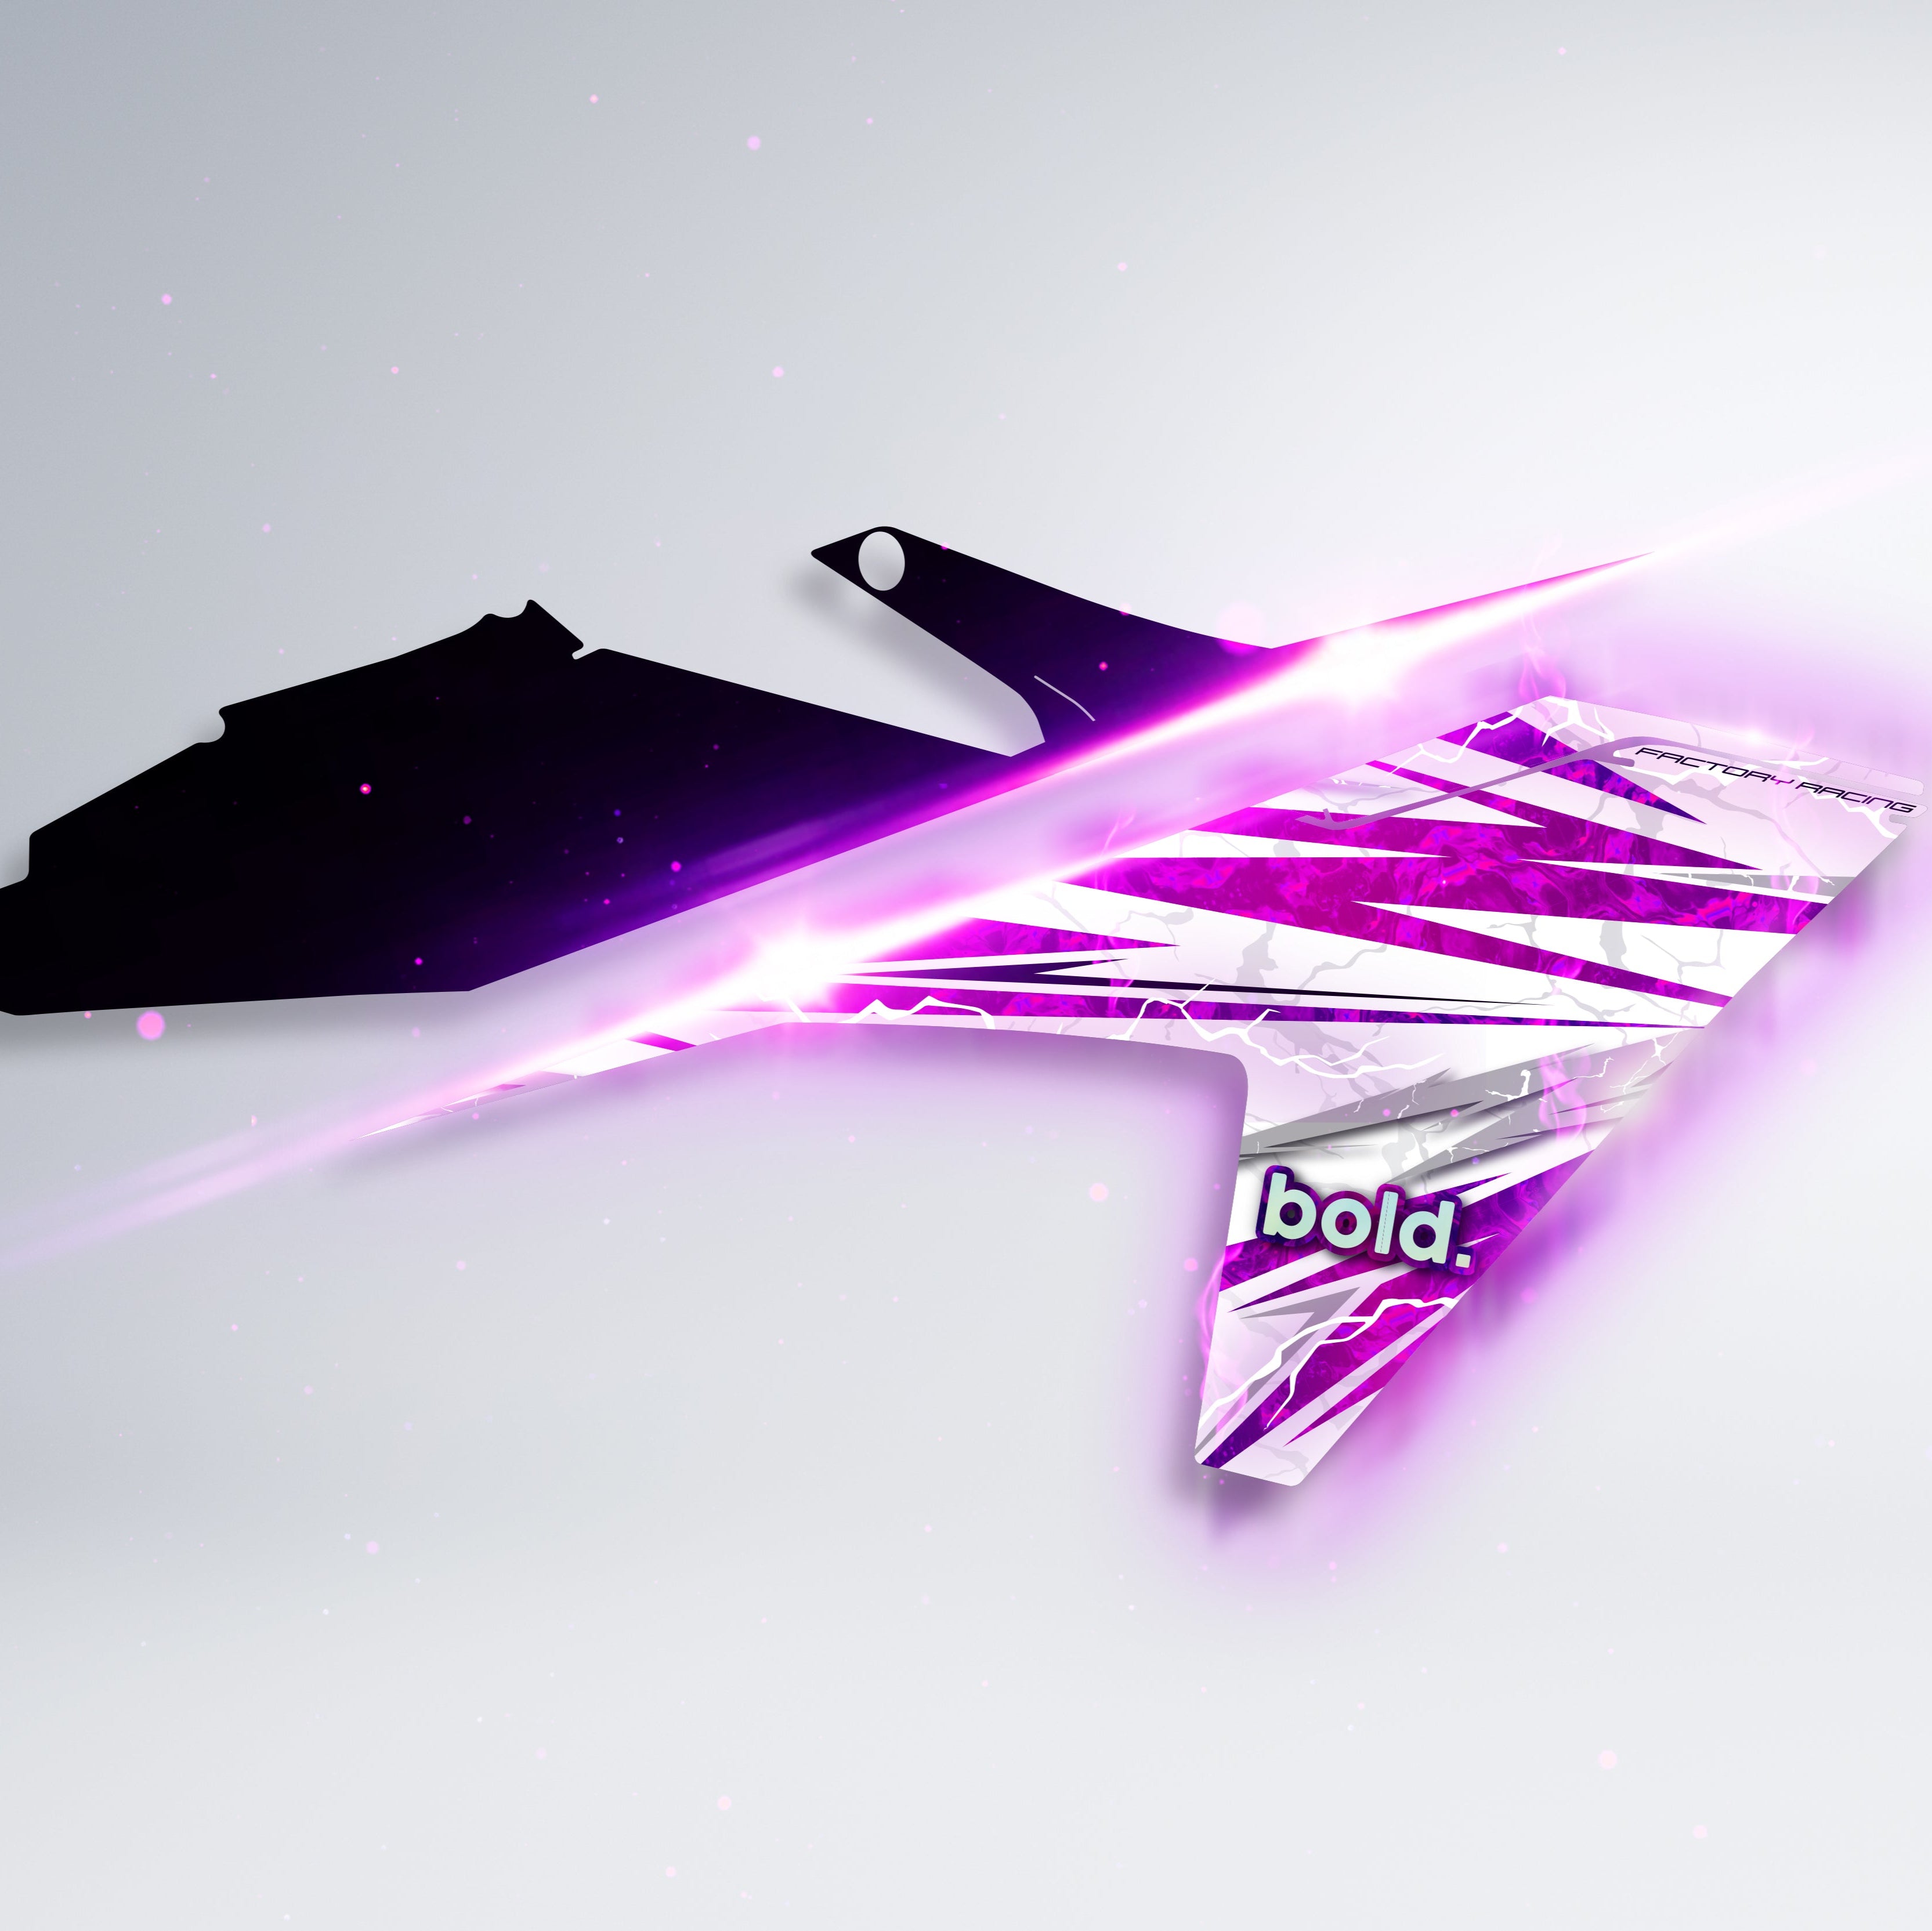
Every kit we print has been approved by you on a preview first. That preview is where fitment gets checked, which plastics, which year, where the number goes. Once the kit arrives, lay the pieces out next to the plastics and compare them to the proof. Some pieces look a little off at first glance because they are cut to wrap around an edge; once you start laying them on, they fall into place. If something really does not match your plastics, stop and write to us before you peel anything.
What you need
- A degreaser (we sell Glosser Mighty, but any proper oil and grease remover works)
- Clean cloths – microfibre, not the shop rag
- A felt-edge squeegee and a sharp knife (our install combo is exactly what we use)
- A warm, dry room. A heated garage is perfect; a cold driveway is where kits go to die – applying in the cold is not recommended
- Optional: a heat gun or hair dryer, on low
Watch it done first
Three videos that show the whole job on real bikes – our own install tutorial, and two more from the riders in the bold. family. Five minutes of watching saves an hour of bubbles.
Links, if the players do not load: How to install dirt bike graphics (bold. tutorial), install video 2, install video 3. If you would rather see a kit go on as part of a complete supermoto build, from bare frame to finished bike, Robert Gebel and Skoovby film exactly that, often.
Step 1 – Clean the plastics until they go matte
New plastics come with a release coating from the mould, and old plastics have months of chain lube, mud and silicone spray on them. Both stop the adhesive from biting. Degrease the whole panel, then buff it with a clean cloth until the surface loses its shine and looks slightly matte. That dull surface is what you want – the adhesive grips it far better than a glossy one. If the plastics are badly scratched or chalky, a fresh set of plastics is a better base than an hour of sanding; we stock complete UFO plastic kits for most bikes.
Step 2 – Line it up with the backing paper still on
Hold the piece against the plastic with the backing paper on and find its position: bolt holes, edges, the line of the panel. Look at it from a metre away, not from ten centimetres. When it sits right, hold it there with one hand.
Step 3 – Peel a little, not everything
This is the step that separates a clean install from a bubbly one. Do not strip all the backing paper off at once. Peel back a strip of a few centimetres at one edge, cut that strip of backing paper away, and press that edge down. Then peel the backing paper away bit by bit behind your squeegee, working from the fixed edge outwards. The graphic goes down in a controlled line instead of all at once.
Step 4 – If it goes wrong, pull it up
A bubble, a crooked line, a corner that landed early – lift the piece and lay it again. The adhesive does not fully set for about 24 hours, so you have time to correct things on the day. A small bubble that will not chase out with the squeegee can be pricked with the tip of the knife and pressed flat.
Step 5 – Press hard, and be careful with heat
Once the piece is where it should be, go over the whole thing with the squeegee and real pressure, edges last. Gentle heat helps the vinyl follow curves and edges – a hair dryer on low is enough. On chrome and fluo kits be careful with both heat and stretching: those materials do not like being pulled around a tight curve while hot, so warm them a little, press them, and let the adhesive do the work.
Step 6 – Let it sit for a day
Leave the plastics indoors, or in a warm garage, for 24 hours before the bike goes out. Do not wash it, do not ride it in the rain, do not pressure-wash it the next morning. After a day the adhesive has done its job and the kit can take everything the bike takes.
Trimming
Most pieces are cut to shape and need no trimming. Where a piece wraps an edge or covers a vent, trim the overlap with the knife after the piece is pressed down, cutting away from the visible face.
Common questions
Can I fit the kit over old graphics?
No. Remove the old graphics first – heat them gently, peel, and clean off the leftover glue with the degreaser. Graphics on graphics will show every edge underneath and lift early.
Do I need new plastics?
Not always, but graphics look best on plastic that is clean and not chalky or cracked. If your plastics are faded, a new UFO set plus the kit is the full restyle in one evening.
How long until I can wash the bike?
Give it a day to settle. After that, wash it like you normally would. Keep a pressure washer lance a hand's width from edges and you will be fine.
What if a piece really does not fit?
Write to info@bolddesignz.com with a photo before you apply it. We fit the design to your exact bike, so a piece that does not match is something we want to see.
Fitting a kit is a quiet hour in a warm garage with the radio on. Take that hour, follow the order above, and the bike comes out of it looking like the proof.
